21 One Bowl Banana Bread Recipes for Easy Confidence
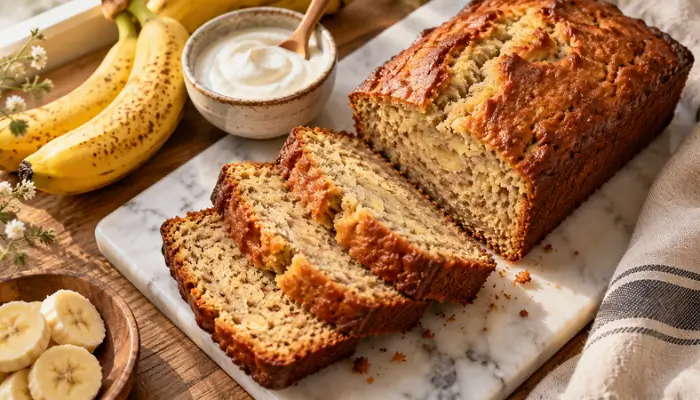
The smell of warm banana bread can turn an ordinary afternoon into something special. Better still, you don’t need fancy gear to get it. A reliable one bowl banana bread recipe without a mixer is all it takes, plus a spoon, a fork, and a few bananas going brown on your counter.
I’ve baked more loaves than I can count, and I’ve noticed that beginners worry most about messy dishes and tricky steps. This article solves both. You’ll find 21 simple ideas, from classic loaves to swirls, glazes, muffins, and freezer tips. Each one is short, clear, and built for real kitchens. Save your favorites, pick one for today, and bake with confidence.
Table of Contents
Wooden Spoon Classic
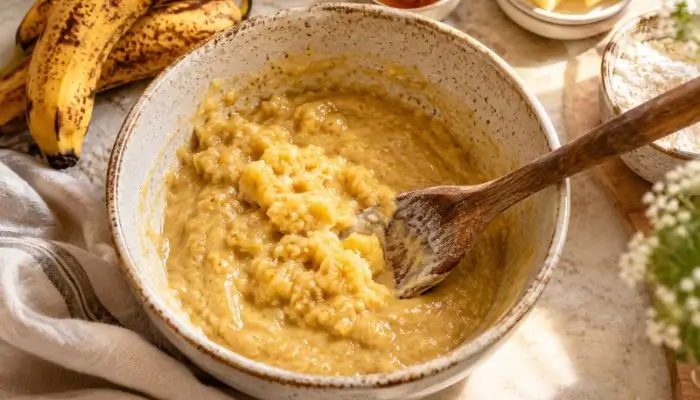
Your arm is the only mixer you need. A one bowl banana bread recipe without a mixer starts with a sturdy wooden spoon and a few ripe bananas. Mash them right in the bowl, stir in melted butter, and the batter comes together in minutes.
Beginners often overmix out of nervousness. Stir only until the last streak of flour disappears. A few small lumps are fine. Fold with slow, wide strokes from the bottom of the bowl. Overworked batter turns tough and gummy, while a gentle hand gives you a soft, tender crumb every time.
Melted Butter Method
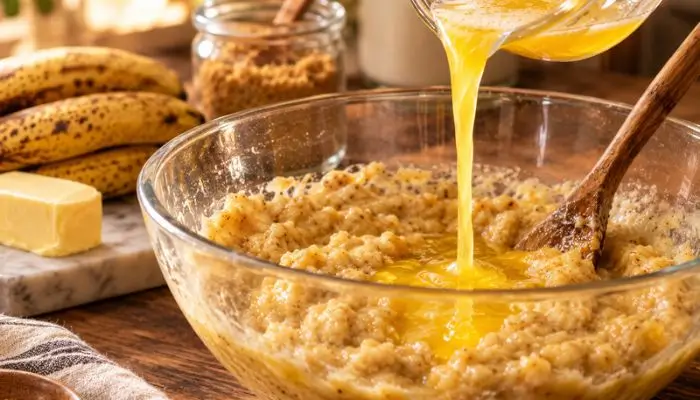
- Melt 1/2 cup (113 g) of butter in the microwave for 30 seconds. Let it cool for two minutes so it won’t scramble the egg.
- Pour it straight over the mashed bananas. The warm butter blends in without any creaming.
- Stir in 3/4 cup of sugar, one egg, and one teaspoon of vanilla. A whisk or fork makes the base smooth.
- Skip softened butter. It needs a mixer to turn fluffy, and you don’t have one.
Melted butter is the reason this loaf stays moist for days. It coats the flour and keeps the crumb tender. In my experience, butter that feels warm but not hot is ready to use. If it stings your finger, wait another minute. Patience protects the texture.
Overripe Banana Mashing
Quick Tip:
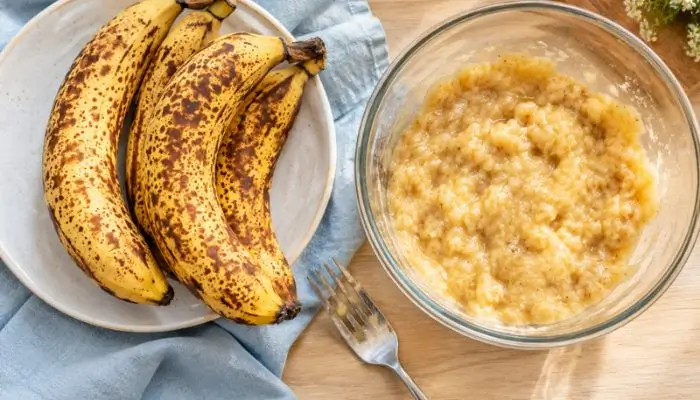
Freeze spotty bananas in their peels when you can’t bake right away. Thaw them on the counter for 30 minutes, then snip off one end and squeeze the pulp into your bowl. Keep that sweet liquid. It adds flavor and moisture.
Brown spots are your baking signal. The darker the peel, the sweeter and softer the fruit. Mash with a fork until mostly smooth, leaving a few small chunks for texture. Three medium bananas, about 1 1/2 cups mashed, give the most reliable rise and flavor.
Gentle Flour Folding
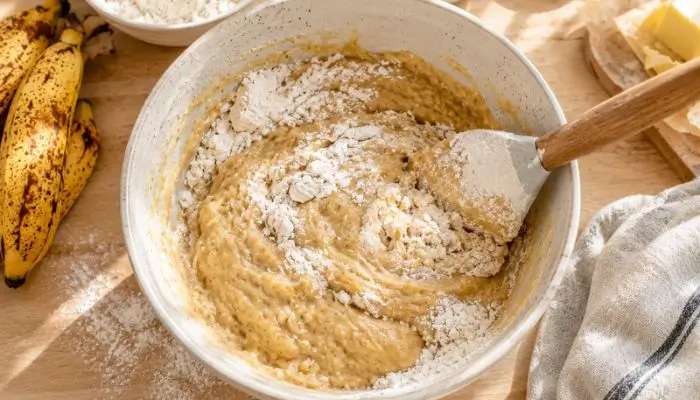
BEFORE: Smooth batter looks like success, so you keep stirring to be safe. Soon it turns stretchy and tight. The baked loaf comes out dense, rubbery, and full of tunnels.
AFTER: The flour disappears after just 12 to 15 folds. The batter looks thick and a little lumpy, and that is exactly right. The loaf rises with a domed top and a soft, tender crumb.
Flour forms gluten the moment it meets liquid, and stirring builds more of it. I’ve noticed that most beginners stop too late, not too early. Use a rubber spatula, cut down the middle, and sweep up the side. Stop when no dry flour shows. Count your folds the first time.
Parchment Sling Prep
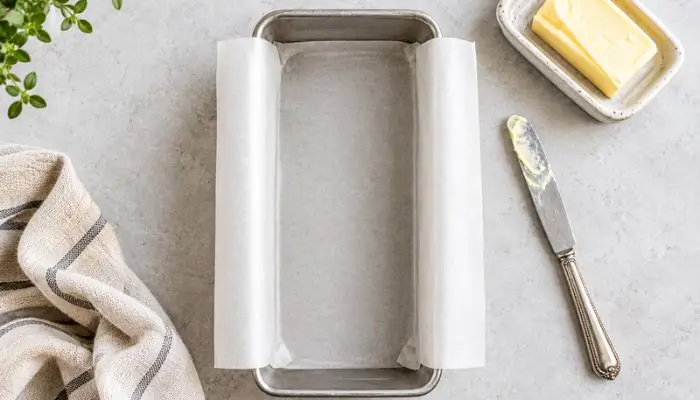
- Heat the oven to 350°F (175°C) and set the rack in the center.
- Grease a 9 by 5 inch loaf pan with butter, covering the corners.
- Cut a strip of parchment about 5 inches wide and press it into the pan, leaving a flap over both long sides.
- Brush the parchment with a little butter, then pour in the batter.
Stuck banana bread is a heartbreak, and it happens most with sugary batter. The parchment flaps work like handles. Grab both and lift straight up, and the loaf comes out whole, even from an old, scratched pan. Cool it on a wire rack for ten minutes before slicing.
Brown Sugar Swap
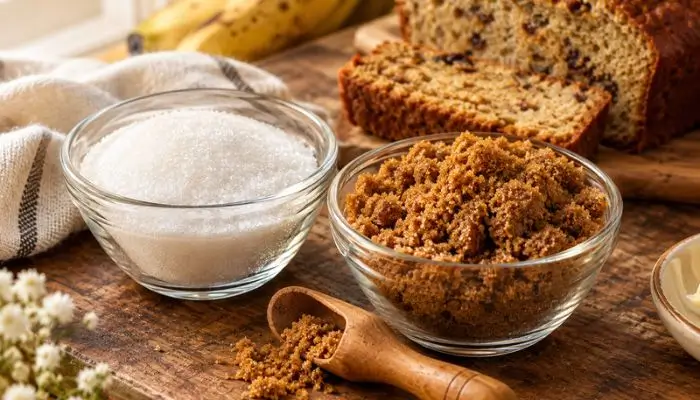
| White Sugar | Brown Sugar | |
|---|---|---|
| Flavor | Light and clean | Deep caramel with molasses notes |
| Moisture | Moderate | Extra moist, stays soft longer |
| Crust Color | Pale golden | Darker, richer brown |
| Mixing | Dissolves fast | Mash lumps with a fork first |
Brown sugar is the quiet reason bakery loaves taste so rich. For a moist banana bread recipe without a mixer, it blends easily into warm melted butter. Swap it cup for cup, and press the sugar through a sieve if lumps appear. Expect a darker crust and a softer slice.
Toothpick Doneness Test
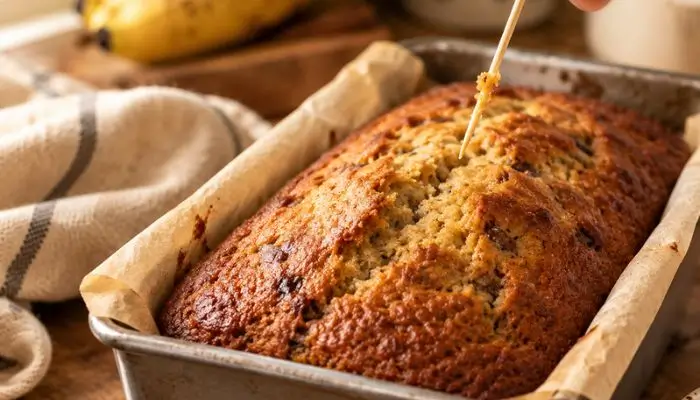
DO:
- Start checking at 50 minutes, then every five minutes after.
- Push the toothpick into the center, where the loaf is thickest.
- Tent the top with foil if it browns before the middle sets.
DON’T:
- Don’t open the oven door during the first 35 minutes.
- Don’t pull the loaf out if the pick shows wet batter.
- Don’t trust the color of the crust alone.
Ovens lie. Mine runs about 15 degrees cool, and I only found out after two pale, gummy loaves. An inexpensive oven thermometer fixed it. Aim for a few moist crumbs on the pick, not clean and not wet. Most loaves finish between 55 and 65 minutes at 350°F.
Walnut Crunch Add-In
Cost: Low, about 1/2 cup of walnuts
Time: 5 minutes to toast
Skill Level: Beginner
Best For: Anyone who loves crunch against a soft crumb
Soft bread needs a little crunch to feel complete. Toast 1/2 cup of chopped walnuts in a dry pan for five minutes until fragrant. Raw nuts turn chewy and bland in the oven, so this step matters. Toss them in flour first and they stay evenly spread.
Cinnamon Sugar Top
The crackly, sparkly top is what makes people reach for a second slice. Mix 2 tablespoons of sugar with 1 teaspoon of cinnamon in a small cup. Sprinkle it evenly over the batter right before the pan goes into the oven. Nothing else is needed.
Heat from the oven melts the sugar into a thin, crisp shell. For a bolder stripe, drag a butter knife through the batter once to swirl some inside. Keep it to one pass. Extra swirling sinks the sugar and you lose the crunch on top.
Chocolate Chip Fold
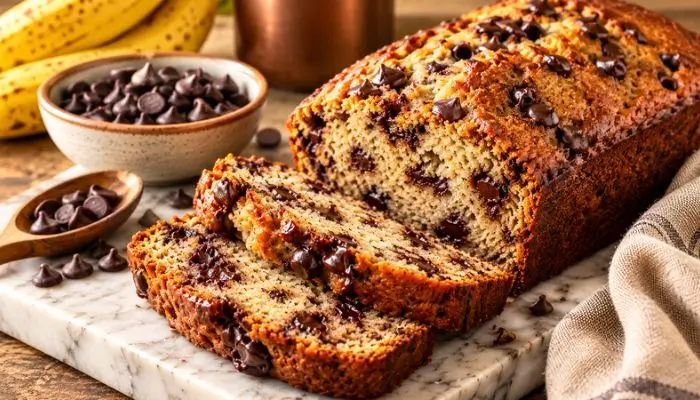
- Measure 3/4 cup of semisweet chocolate chips. Mini chips spread more evenly through every slice.
- Toss the chips in one tablespoon of your measured flour first. The light coating keeps them from sinking to the bottom.
- Fold them in after the flour, using the same slow strokes. Stop as soon as they look evenly spread.
- Press a few extra chips onto the top of the batter. They melt into glossy pools while baking.
Chocolate and banana feel made for each other, and this version needs no extra bowl. I’ve seen kids and grown adults fight over the end slice. Cut it while slightly warm for gooey pockets. If you want less sweetness, choose dark chips and cut the sugar by two tablespoons.
Greek Yogurt Swap
Quick Tip:
Replace 1/4 cup of the butter with 1/4 cup of plain Greek yogurt. Stir it in with the mashed bananas so it blends evenly. Use full fat yogurt for the best texture.
A dry loaf is the most common complaint I hear from new bakers. Yogurt adds tang, moisture, and a little protein without changing the flavor much. The crumb turns plush and stays soft into day three. Sour cream works the same way if that is what your fridge holds.
Cooling Rack Rest
BEFORE: Fresh from the oven, the loaf smells too good to wait for. You slice right away and the knife drags. The middle looks gummy and the slices fall apart.
AFTER: The loaf rests in the pan for 10 minutes, then cools on a wire rack for 30 more. The crumb sets and slices cleanly. Each piece holds its shape and tastes more like banana.
Steam keeps cooking the center after the oven turns off, so patience is part of the recipe. Use a serrated knife and saw gently instead of pressing down. Once fully cool, wrap the loaf in foil. It tastes even better the next morning, with deeper banana flavor.
Peanut Butter Swirl
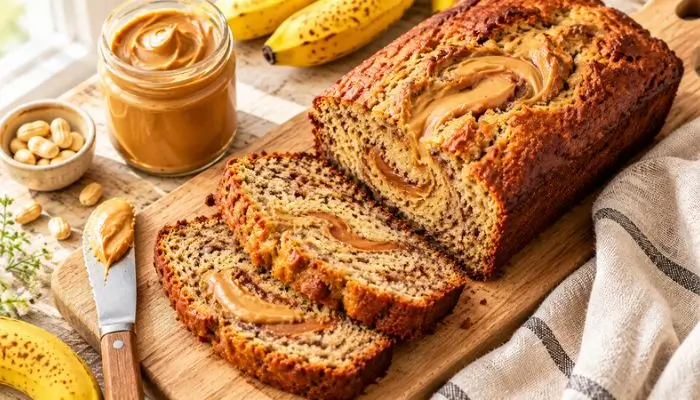
- Warm 1/3 cup of creamy peanut butter in the microwave for 15 seconds until it turns pourable.
- Pour two thirds of the banana batter into your lined loaf pan.
- Drop spoonfuls of peanut butter over the batter, then spread the remaining batter on top.
- Drag a butter knife through the pan in one slow S shape. Stop there.
Peanut butter and banana is a lunchbox classic, and it works even better baked. Heavy swirling blends the ribbon into the batter and you lose the stripe. One slow pass keeps it visible. Add 5 to 10 minutes of baking time if the center still looks wet, and tent with foil.
Coconut Oil Swap
| Butter | Coconut Oil | |
|---|---|---|
| Flavor | Rich and creamy | Neutral (refined) or lightly tropical (unrefined) |
| Texture | Tender, slightly dense | Soft and very moist |
| Dairy | Contains dairy | Fully dairy free |
| Swap Ratio | 1/2 cup melted | 1/2 cup melted, cooled slightly |
Need a dairy free loaf? Coconut oil makes it easy. Use refined coconut oil for a neutral taste, or unrefined if you enjoy a light tropical note. Melt it, let it cool slightly, and measure 1/2 cup. Expect a slightly softer slice that holds moisture for days.
Freezer Slice Storage
DO:
- Cool the loaf completely before wrapping.
- Slice first, then wrap each piece in parchment.
- Label the freezer bag with the date.
DON’T:
- Don’t wrap a warm loaf, because trapped steam makes it soggy.
- Don’t toss loose slices into a bag, since they freeze together.
- Don’t keep it frozen longer than three months.
Mornings get easier with a stash in the freezer. I wrap slices individually and pull one out the night before, or toast it straight from frozen for two minutes. It tastes freshly baked. Whole loaves also freeze well, wrapped in foil, and thaw on the counter in about three hours.
Maple Glaze Drizzle
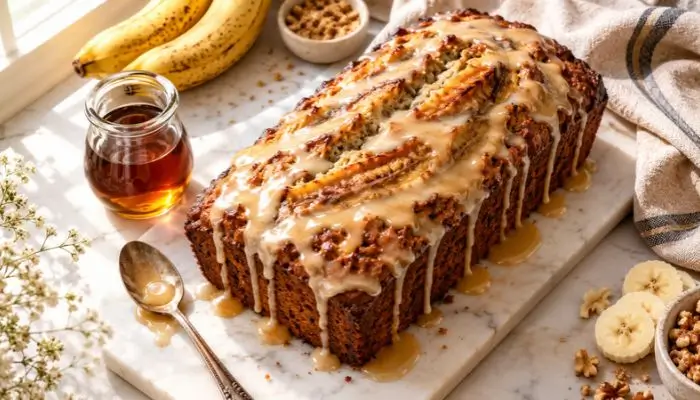
Cost: Low, pantry staples only
Time: 3 minutes
Skill Level: Beginner
Best For: Gifting, brunch, and holiday loaves
Glossy glaze makes a plain loaf look bakery made. Whisk 1/2 cup of powdered sugar with 2 tablespoons of maple syrup and 1 teaspoon of milk. Wait until the loaf is fully cool, then drizzle. A warm loaf melts the glaze. Too thick? Add milk, a few drops at a time.
Mini Loaf Pans
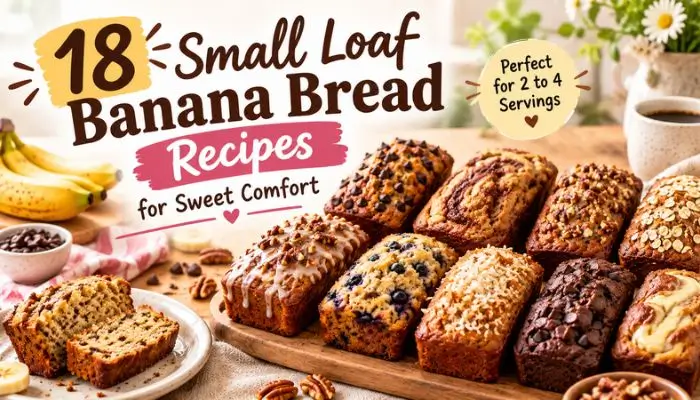
Small loaves bake fast and give away easily. This same batter fills four mini pans, each about 5 3/4 by 3 inches. Divide it evenly, filling each pan two thirds full. Bake at 350°F for 25 to 30 minutes. Start checking at 22 minutes, since small pans finish quickly.
I’ve made these for neighbors and teachers, and they always disappear first. Wrap each one in parchment, tie it with twine, and add a tag. A kitchen scale helps split the batter equally. Cool completely before wrapping, or steam will make the paper soggy.
Blueberry Burst
- Use 1 cup of fresh or frozen blueberries. Do not thaw frozen ones, or the batter turns purple and soggy.
- Toss the berries in one tablespoon of flour. The coating helps them stay suspended instead of sinking.
- Fold them in last with three or four gentle strokes. Rough stirring crushes the berries.
- Scatter a few berries on top before baking. They blister into jammy, glossy pockets.
- Add 5 to 10 minutes to the bake time if you use frozen berries.
Berries bring a bright, tart edge that balances the sweet banana. I’ve noticed that wild blueberries, the tiny kind, spread more evenly than large ones. Bake until a toothpick comes out with moist crumbs, but not purple batter. Let the loaf cool fully so the juicy pockets can set.
Whole Wheat Blend
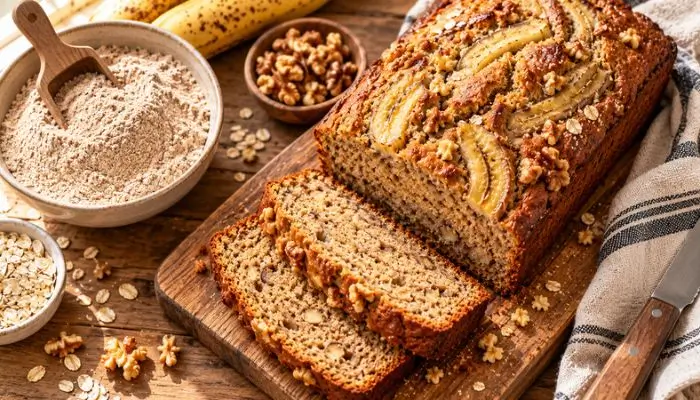
Quick Tip:
Swap half of the all purpose flour for whole wheat flour, so use 1 cup of each. Let the batter rest for five minutes before baking so the bran softens. Add one extra tablespoon of milk if the batter looks stiff.
Whole wheat adds a nutty flavor and a little fiber without making the loaf heavy. That’s why many bakers recommend a half and half split, since full whole wheat turns the crumb dry and dense. The slices stay soft, and the banana flavor still leads. Bake time stays the same.
Cream Cheese Ribbon
BEFORE: A plain loaf can feel a little predictable by day two. The flavor is nice but one note. Nobody asks for the recipe.
AFTER: A tangy cream cheese ribbon runs through the center of every slice. You get soft banana cake and a creamy stripe in one bite. It tastes like cheesecake and banana bread had a good idea together.
Soften 4 ounces of cream cheese on the counter, then mash it with 3 tablespoons of sugar and one egg yolk using a fork. Spread half the batter in the pan, add the filling, and top with the rest. Bake 5 to 10 minutes longer, and store leftovers in the fridge.
Banana Muffin Batch
- Heat the oven to 375°F (190°C) and line a 12 cup muffin tin with paper liners.
- Make the batter exactly as written for the loaf, then scoop it into the liners with a large spoon. Fill each one two thirds full.
- Bake for 18 to 22 minutes, until a toothpick comes out with moist crumbs.
- Cool the muffins in the tin for five minutes, then move them to a wire rack.
The same one bowl banana bread recipe without a mixer turns into a dozen grab and go muffins, with no extra dishes. I’ve seen these vanish from lunchboxes within a day. Level scoops give tall, domed tops. Freeze extras in a bag and warm them for 20 seconds.
Conclusion
Banana bread should feel easy, not stressful. With one bowl, one spoon, and a few spotted bananas, you now have 21 ways to bake something warm and homemade. I’ve seen how small changes, like a parchment sling or a patient cooling rack, can turn a nervous baker into a confident one.
Start with the classic one bowl banana bread recipe with Chocolate Chips without a mixer, then try a swirl or glaze when you feel ready. Save this post on Pinterest so it’s waiting when your bananas ripen. Share it with a friend who loves baking. Now go preheat that oven. Your best loaf is next.
2 Comments